Java Annotation Processing: The Compile-Time Magic You Should Know
If you’ve used Dagger in your Android projects, you’ve likely used @Inject, @Module, or @Component all over your code. But have you ever wondered how Dagger actually makes sense of those annotations?
Behind the scenes, Dagger relies on something powerful and often overlooked: Java Annotation Processing.
In this blog, we’ll take a look at how annotation processing works and walk through how to create a custom annotation processor from scratch.
Java Annotation Processing
Java Annotation Processing is a feature in Java that allows you to process annotations during the compilation phase. Java annotation processing enables developers to read, analyze, and act on annotations to generate code, validate code, or perform other compile-time tasks.
Compile-Time Execution: Unlike reflection, which works at runtime, annotation processing happens during compilation. This means:
- Zero runtime overhead
- Type-safe code generation
- Early error detection
- Better IDE support with generated code
Key Components of Annotation Processing
1. The Processor Interface
At its core, annotation processing uses the javax.annotation.processing.Processor interface. It defines the contract for custom processors, including:
- Specifying which annotations the processor handles.
- Executing the processing logic.
However, directly implementing this interface involves a lot of boilerplate code.
2. AbstractProcessor: Simplifying the Work
Most processors extend AbstractProcessor, which reduces boilerplate and offers useful defaults. The process() method in this class contains the core logic for analyzing annotations and generating code.
3. ProcessingEnvironment: The Processor Toolbox
The ProcessingEnvironment provides all the tools a processor needs:
- Messager: For logging errors and warnings.
- Filer: To create new source files or class files.
- Elements & Types: For navigating the code structure and extracting information.
4. Discoverability
Annotation processors must be discoverable by the compiler, usually through a file in META-INF/services/javax.annotation.processing.Processor. Tools like AutoService simplify this process by auto-generating the necessary configuration.
Round-Based Processing
Annotation processing works in “rounds” – a cycle where annotations are processed, code is generated, and if new files are generated, they are reprocessed in the next round.
- Initial Round: Processors analyze annotations in the original code.
- Subsequent Rounds: Newly generated files are processed.
- Final Round: No new files; processors can perform final validations.
Building a Simple Annotation Processor
1. Project Setup
A typical setup involves two modules:
- Processor Module (myprocessor): Contains annotation definitions and processor logic.
- Consumer Module: Uses the annotations defined in the processor module.
2. Define the Annotation
Annotations are typically defined with @Retention(RetentionPolicy.SOURCE) since they’re only needed during compilation.
package dev.aravindraj;

// File: MyAnnotation.java

import java.lang.annotation.*;

@Target(ElementType.TYPE) // Can be used on classes
@Retention(RetentionPolicy.SOURCE) // This annotation is available only at compile-time
public @interface MyAnnotation {
}
3. Implement the Processor
Here’s the basic flow for creating a processor:
- Extend AbstractProcessor.
- Define supported annotations and Java version.
- Implement process() to generate code or validate annotations.
package dev.aravindraj;
// File: MyAnnotationProcessor.java
import javax.annotation.processing.*;
import javax.lang.model.SourceVersion;
import javax.lang.model.element.Element;
import javax.lang.model.element.TypeElement;
import javax.tools.Diagnostic;
import java.util.Set;
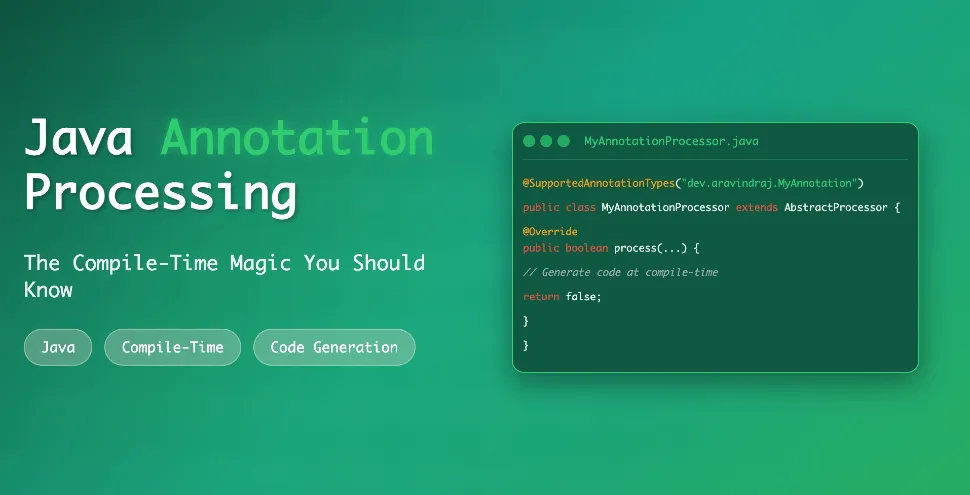
@SupportedAnnotationTypes("dev.aravindraj.MyAnnotation")
@SupportedSourceVersion(SourceVersion.RELEASE_17)
public class MyAnnotationProcessor extends AbstractProcessor {
@Override
public void init(ProcessingEnvironment processingEnv) {
super.init(processingEnv);
// Initialize processing environment if necessary
}
@Override
public boolean process(Set<? extends TypeElement> annotations, RoundEnvironment roundEnv) {
for (Element element : roundEnv.getElementsAnnotatedWith(MyAnnotation.class)) {
// Get the class name where the annotation was used
String className = element.getSimpleName().toString();
// Print a message when annotation is found
processingEnv.getMessager().printMessage(Diagnostic.Kind.NOTE,
"Found @MyAnnotation on class: " + className);
}
return false; // return false to allow other processors to run
}
}
4. Add config file for discoverability
- Place the file javax.annotation.processing.Processor inside the META-INF/services directory of your Processor module (myprocessor).
- The file should contain the fully qualified name of annotation processor class. This tells the compiler which classes to load and use for annotation processing during compilation.
dev.aravindraj.MyAnnotationProcessor5. Applying @MyAnnotation in Main.java
package dev.aravindraj;

@MyAnnotation
public class Main {
    public static void main(String[] args) {
        System.out.print("Hello and welcome!");
    }
}
6. Wiring the Processor in build.gradle
To activate the annotation processor in your project, you need to add it as an annotation processor dependency in the build.gradle file of your consumer module (the module where you’re using @MyAnnotation).
annotationProcessor(project(":myprocessor"))
implementation(project(":myprocessor"))
implementation(project(“:myprocessor”)) - This includes the annotation class in your consumer module’s compile classpath. Without this annotation (@MyAnnotation) itself won’t be available to the compiler
This implementation demonstrates that annotation processing isn’t magic—it’s a systematic compile time code analysis framework. The same patterns we used in our simple message logging processor scale to complex code generation in production frameworks. Understanding these mechanics provides practical benefits and the foundation for creating custom processors that address specific development challenges.